Preparing your Thin Walls Zine
Introduction — Why These Zines Exist
Thin Walls is a platform about noticing sound, space, and how closely we live alongside one another.
These small zines are a way of sharing that idea in physical form — something you can hold, fold, read, and pass on.
This guide shows you how to turn a single printed page into a small, portable booklet — so the conversation can travel.
Download & Print — Getting Your Page Ready
Download the Thin Walls zine PDF files from here.
Open the file on your computer or device and print it on A4 paper at 100% scale (actual size).
Avoid “fit to page” or resizing options, as these can affect the folding layout.Standard printer paper works well, but slightly thicker paper can give the zine more durability.
Once printed, let the ink dry fully before folding.
Preparation — Setting Up Your Space
Find a clean, flat surface with enough room to fold comfortably.
You will need:
Your printed A4 page
A pair of scissors
A few quiet minutes
Good light helps.
So does an unhurried pace.
How to Fold a Thin Walls Zine
A small guide to turning one page into a tiny book
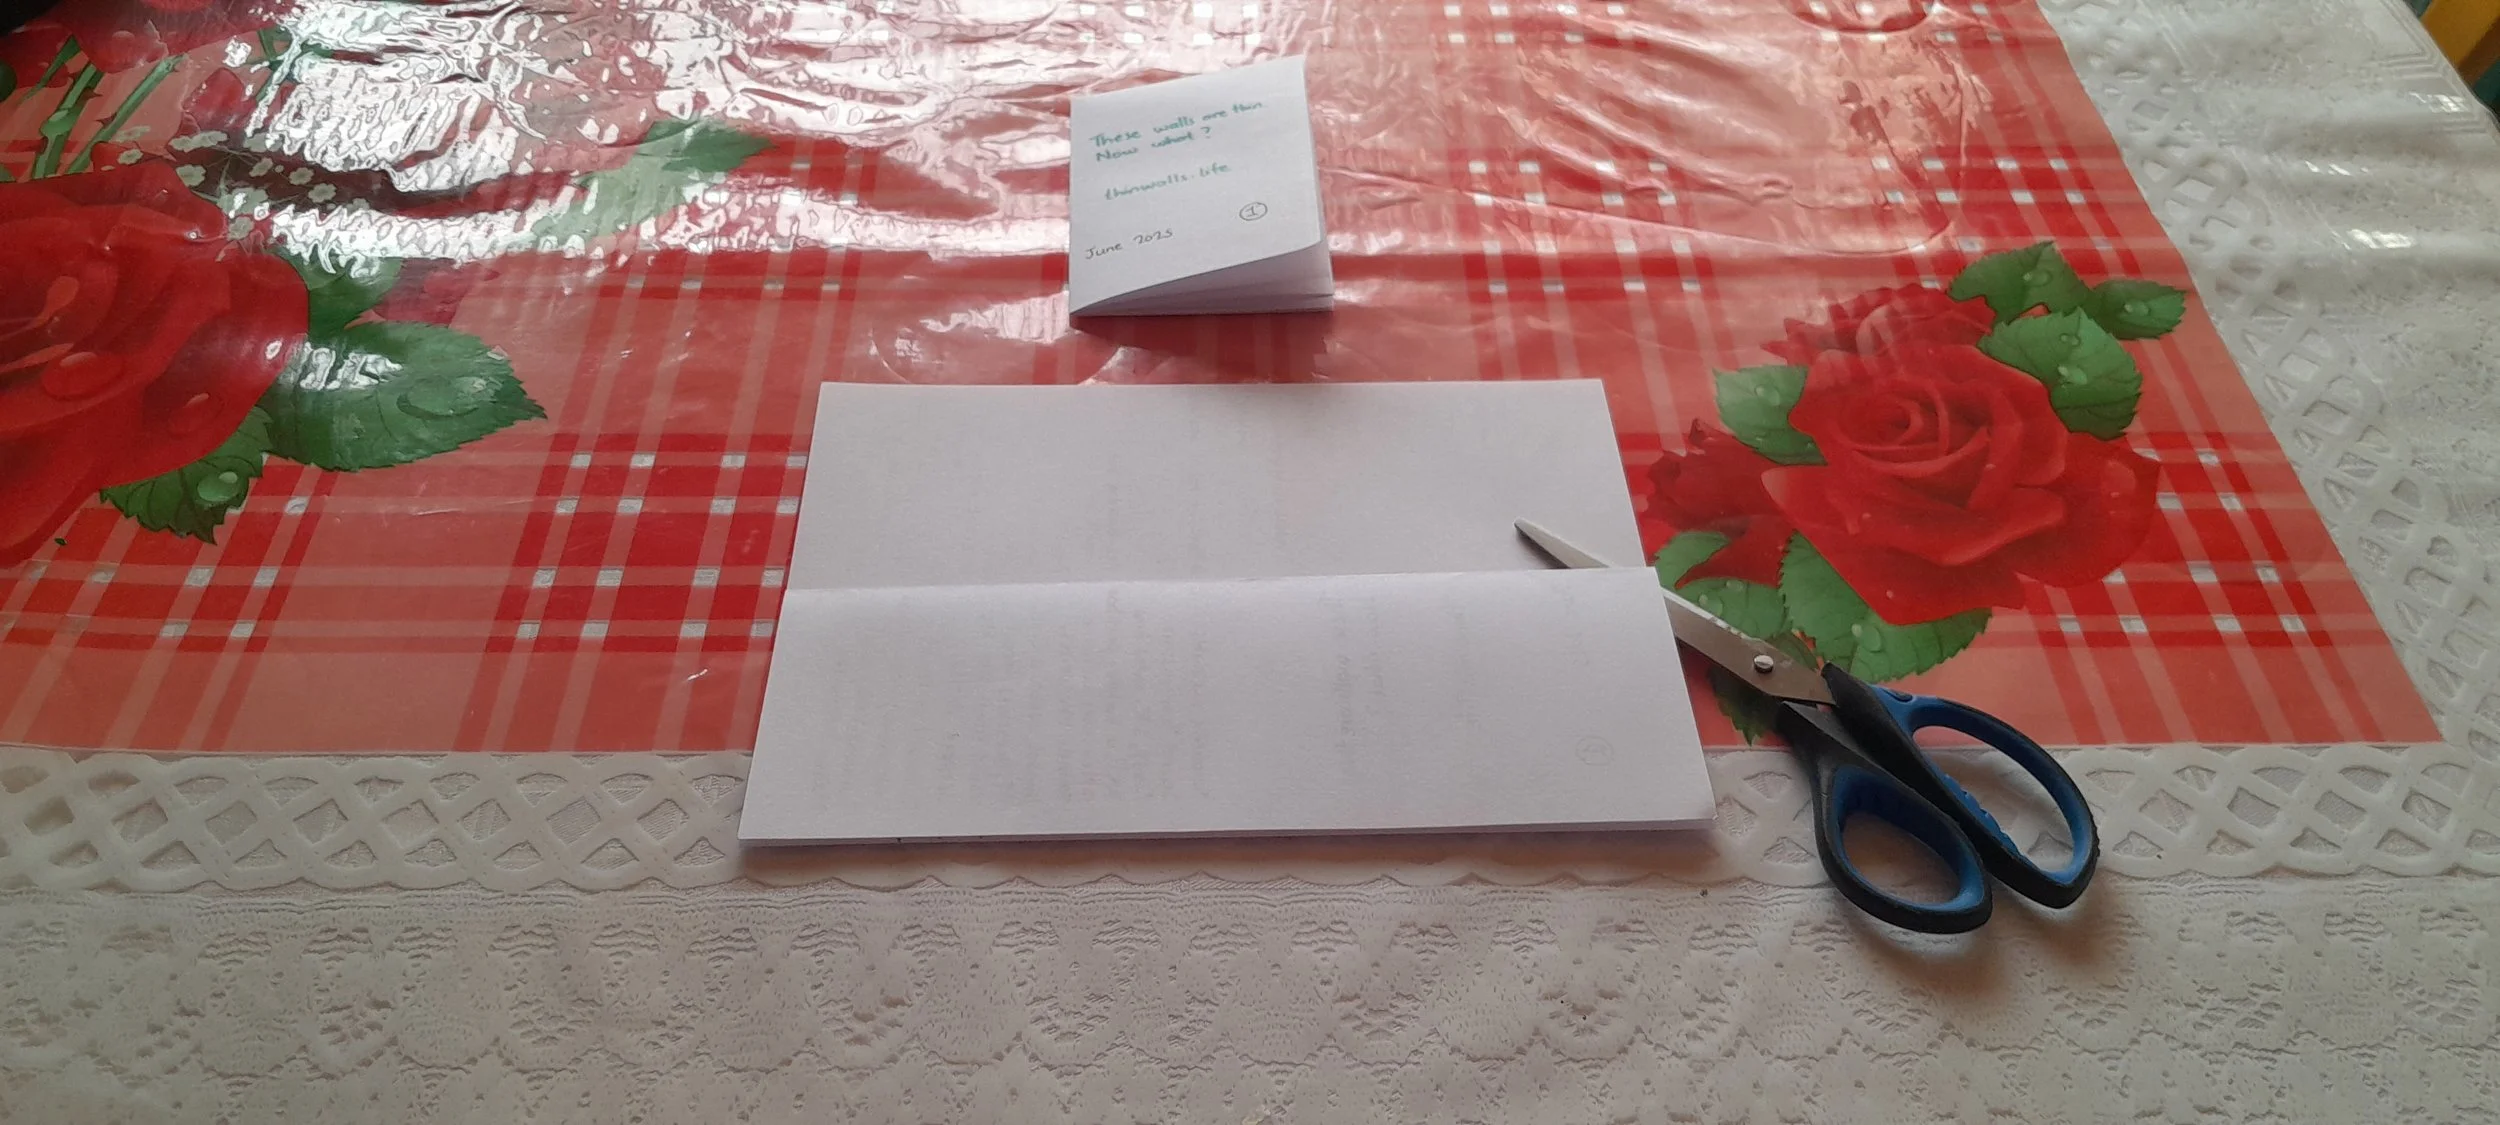
Step 1: Start With Your Page
Lay your printed A4 page flat.
Place your scissors nearby.
Some text will look upside down. That’s normal.
You’re starting in the right place.
Step 2: First Fold (Short Edge)
Fold the page in half width-wise.
Match the corners.
Press the crease gently.
You now have a small rectangle.
Step 3: Second and Third Folds
Fold the rectangle in half again.
Then repeat on the other side.
You now have three vertical folds.
The page is divided into four panels.
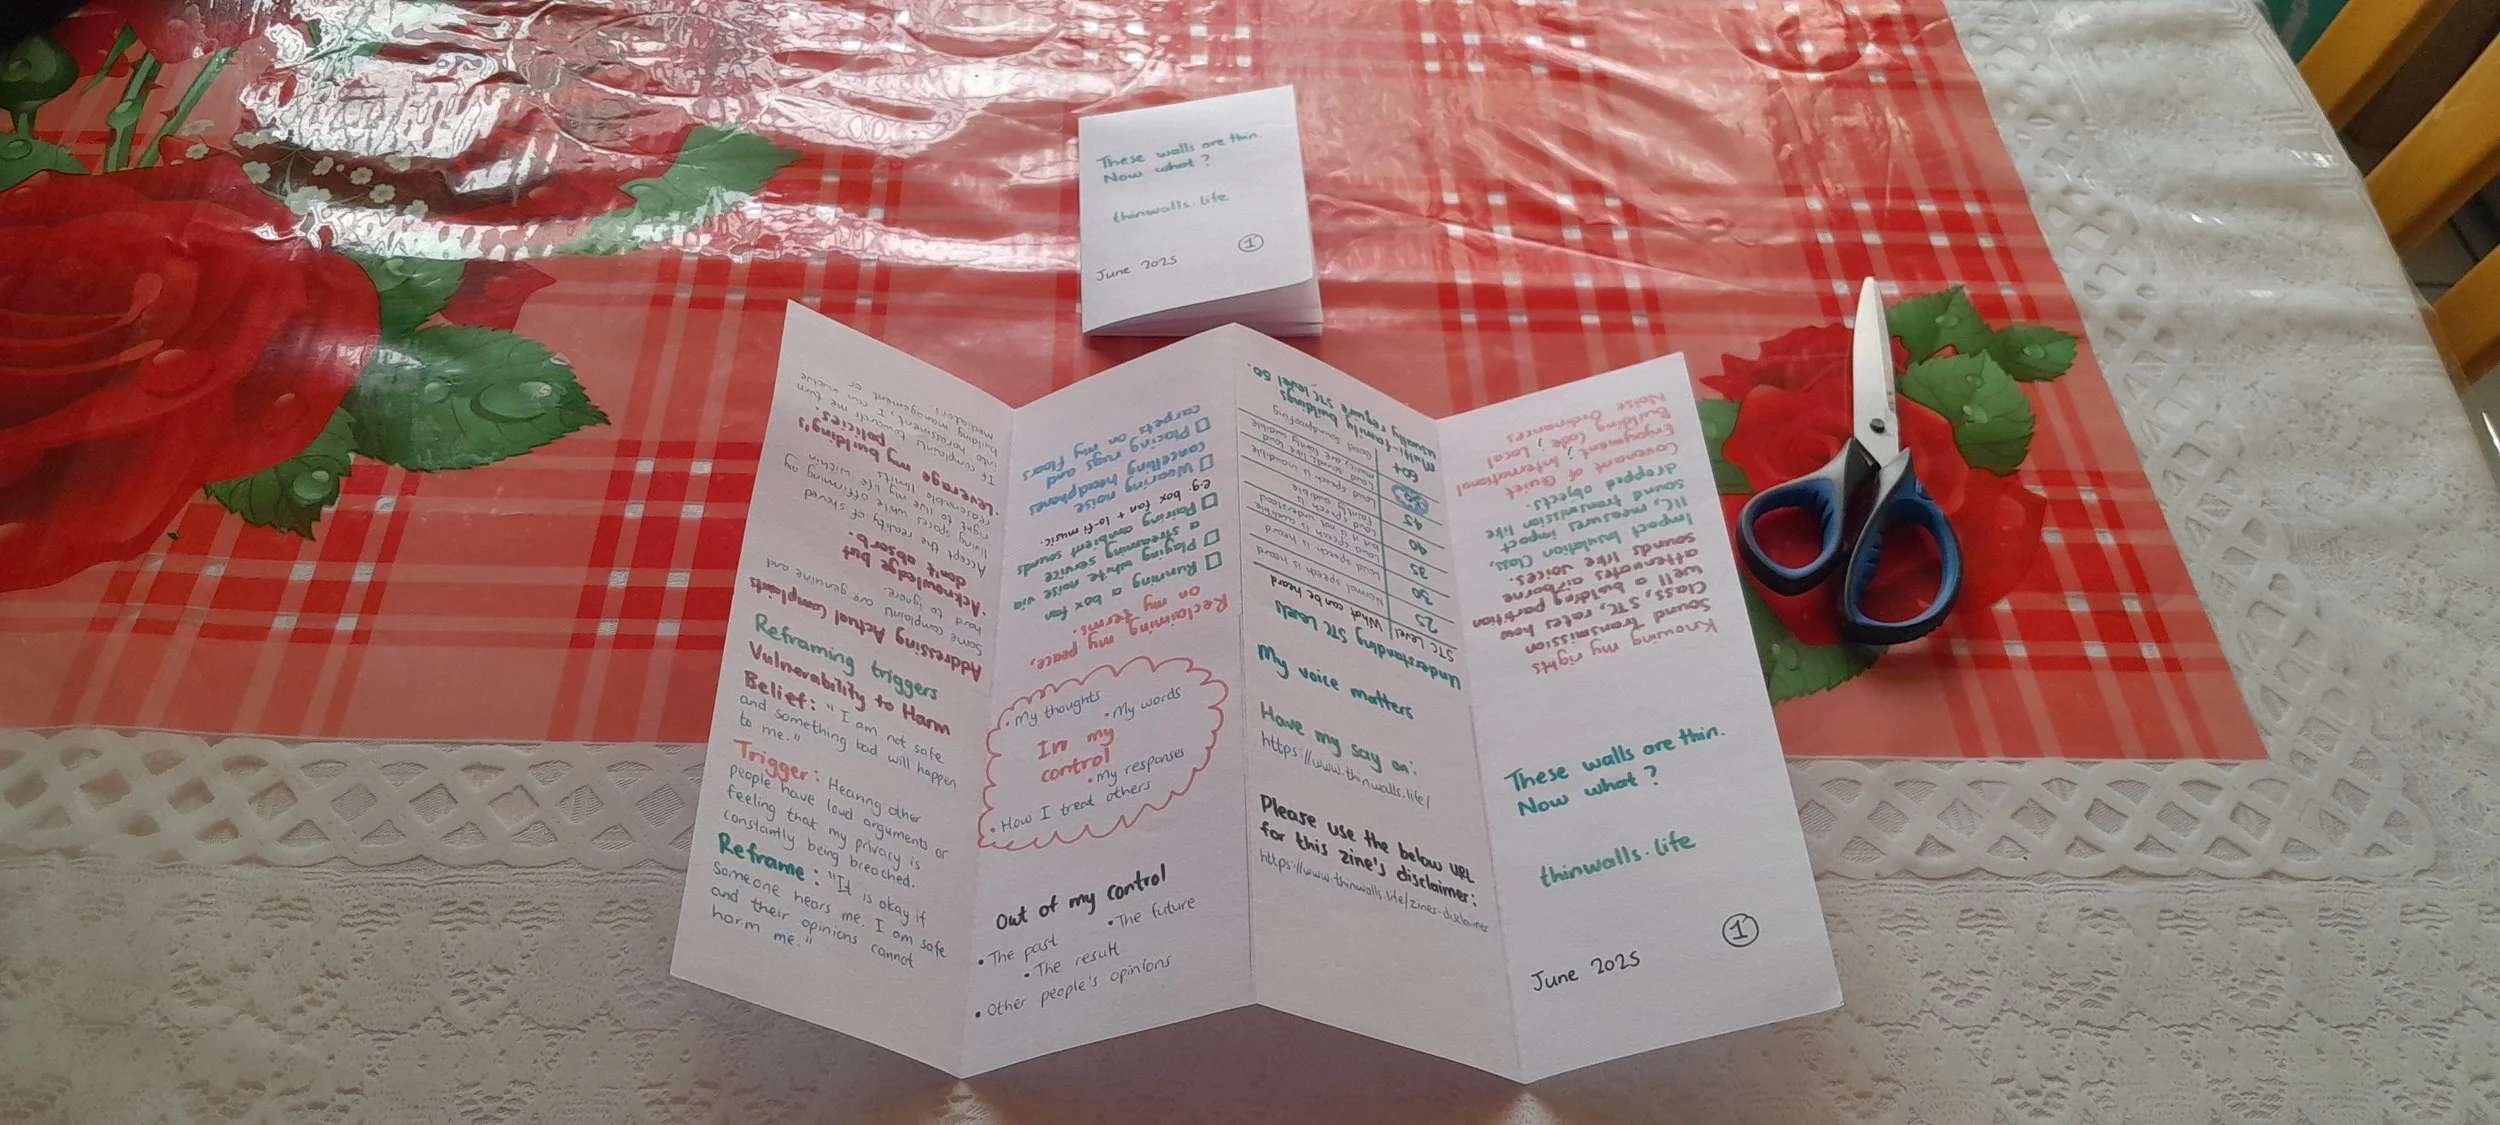
Step 4: Open Into an Accordion
Partially unfold the page.
Let it open into a zig-zag “W” shape.
Each panel should be visible.
Step 5: Fourth Fold (Long Edge)
Fold the page in half lengthwise.
Create a long rectangle.
Press the crease.
This connects all the panels.
Step 6: Reset the Shape
Fold the page width-wise again.
You should now see:
3 vertical creases.
1 horizontal crease.
All four folds are complete.
Step 7: Cut the Middle
Keep the page folded.
Find the centre of the long edge.
Cut along the centre crease. Stop once you’ve cut halfway into the folded page.
Step 8: Push Through
Unfold the page.
Hold both ends and gently push inward.
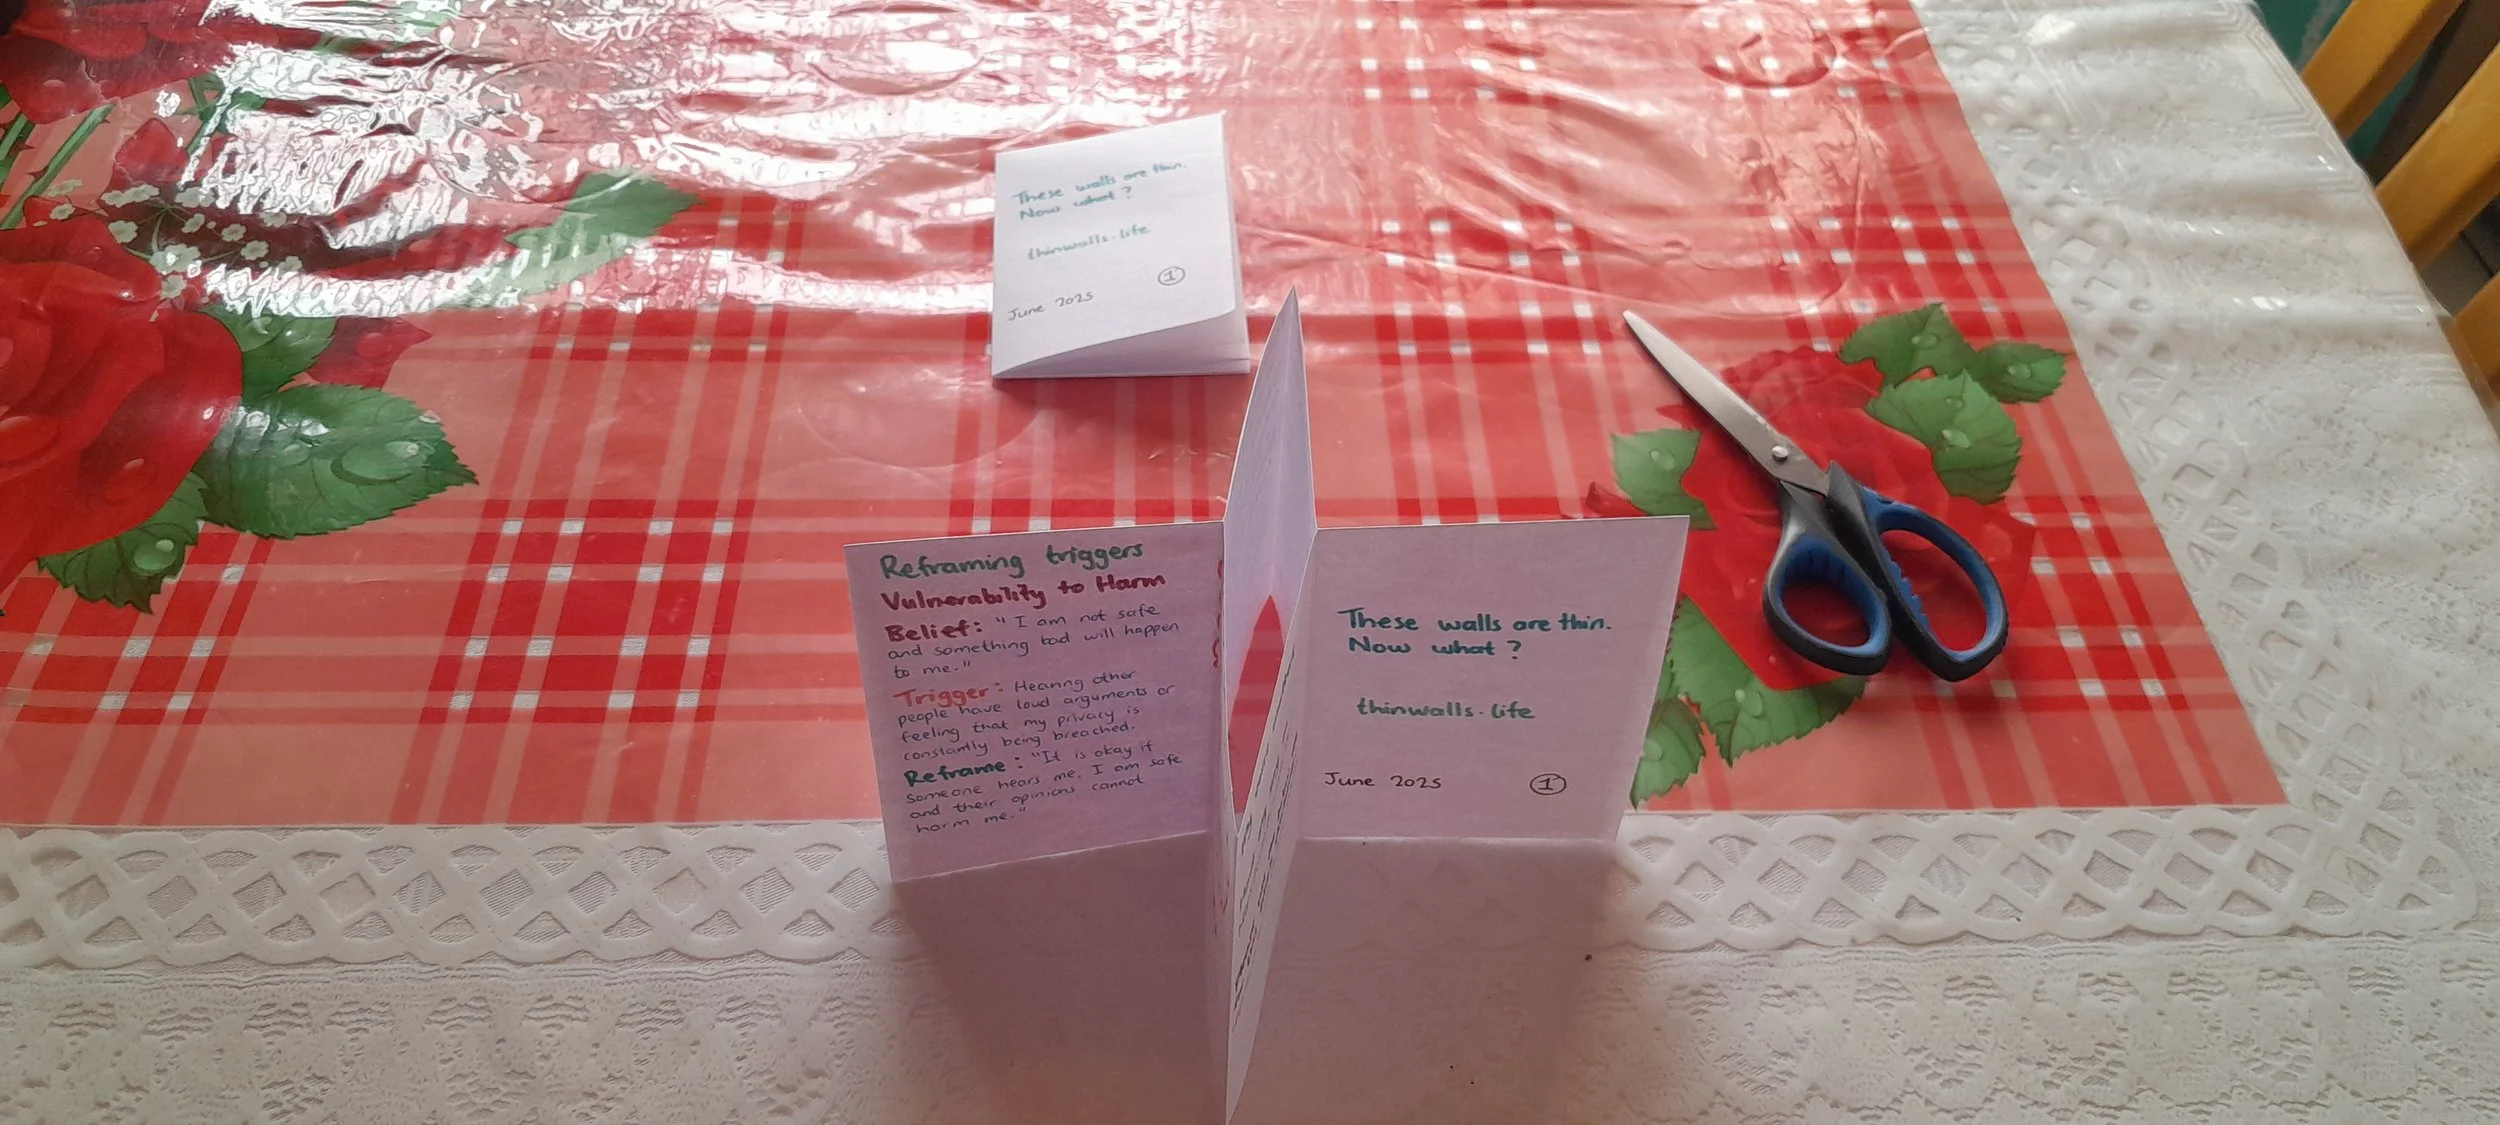
The centre opens into a diamond shape.
Let it happen naturally.
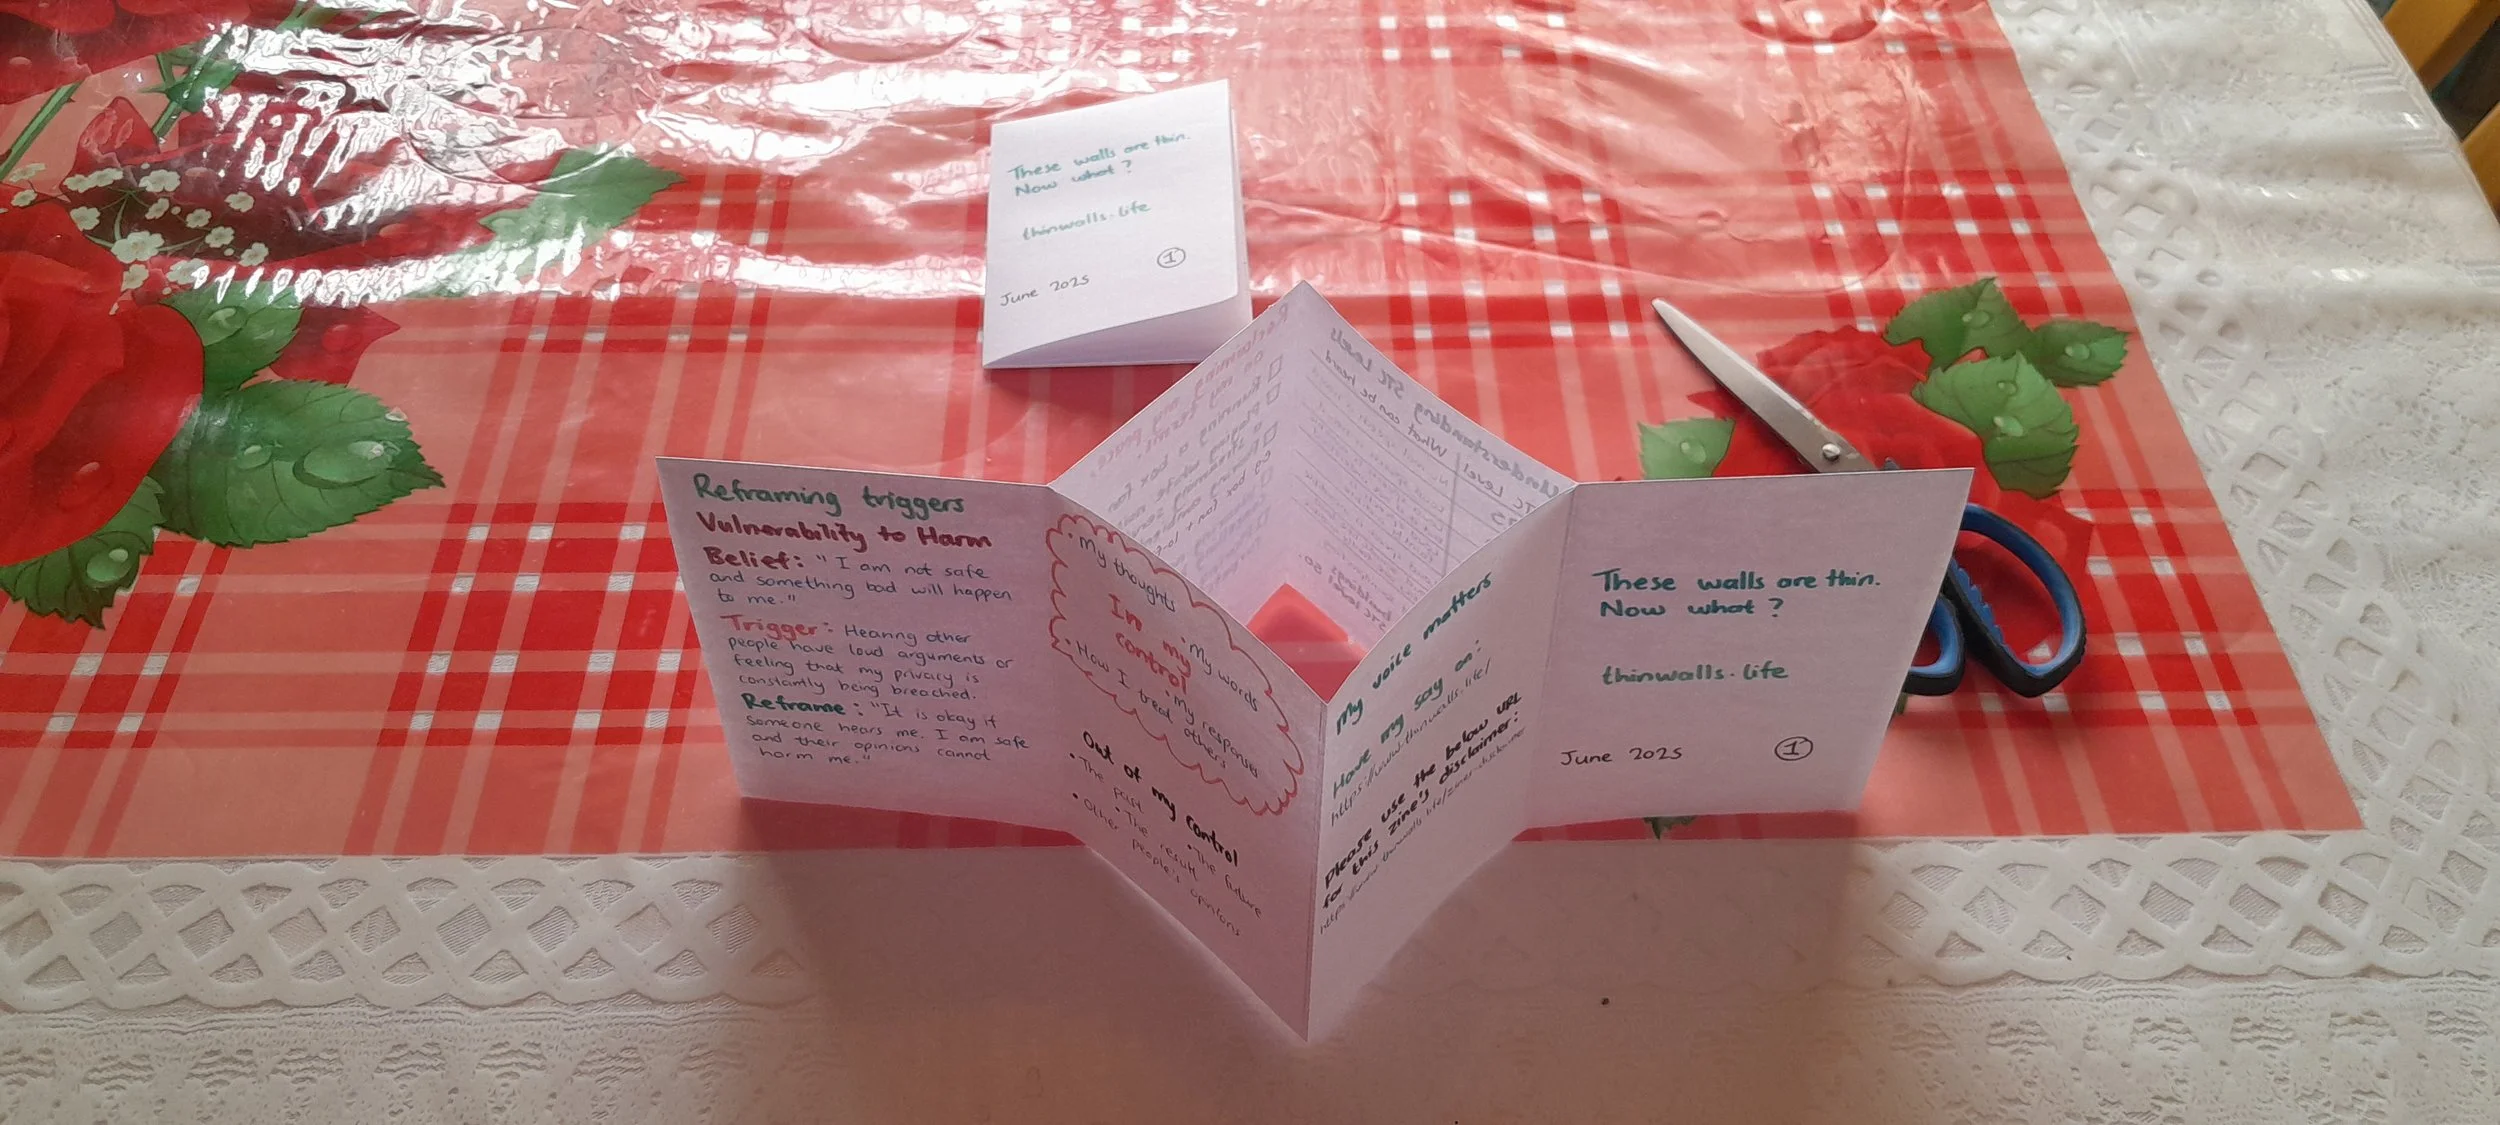
Step 9: Form the Book
Guide the folded sections inward.
Let the pages stack neatly.
Square the edges.
Your booklet is forming.
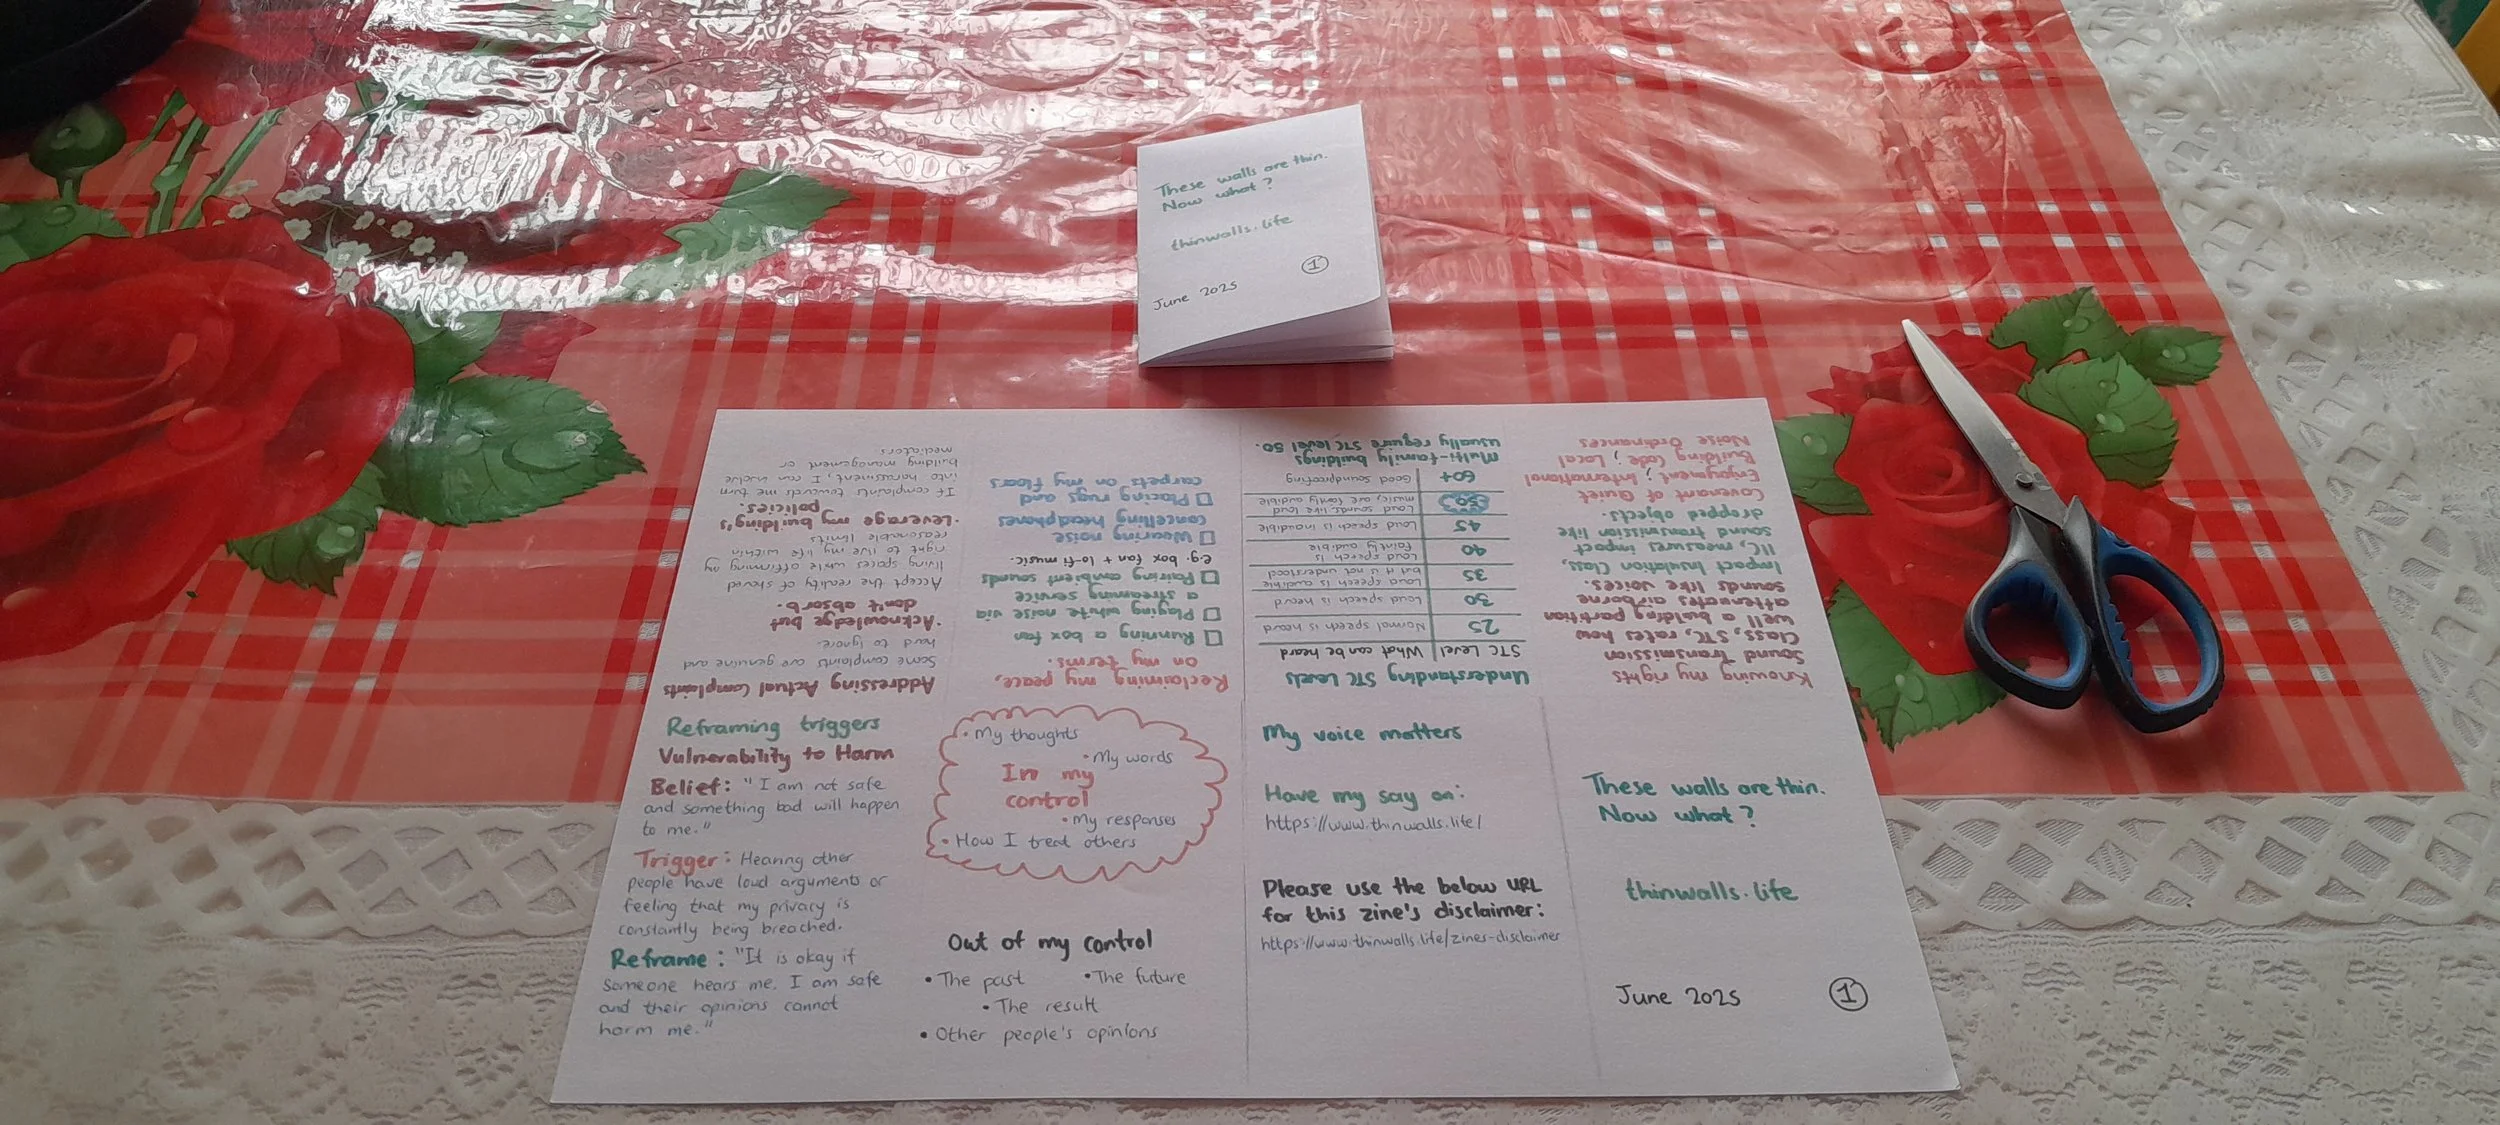
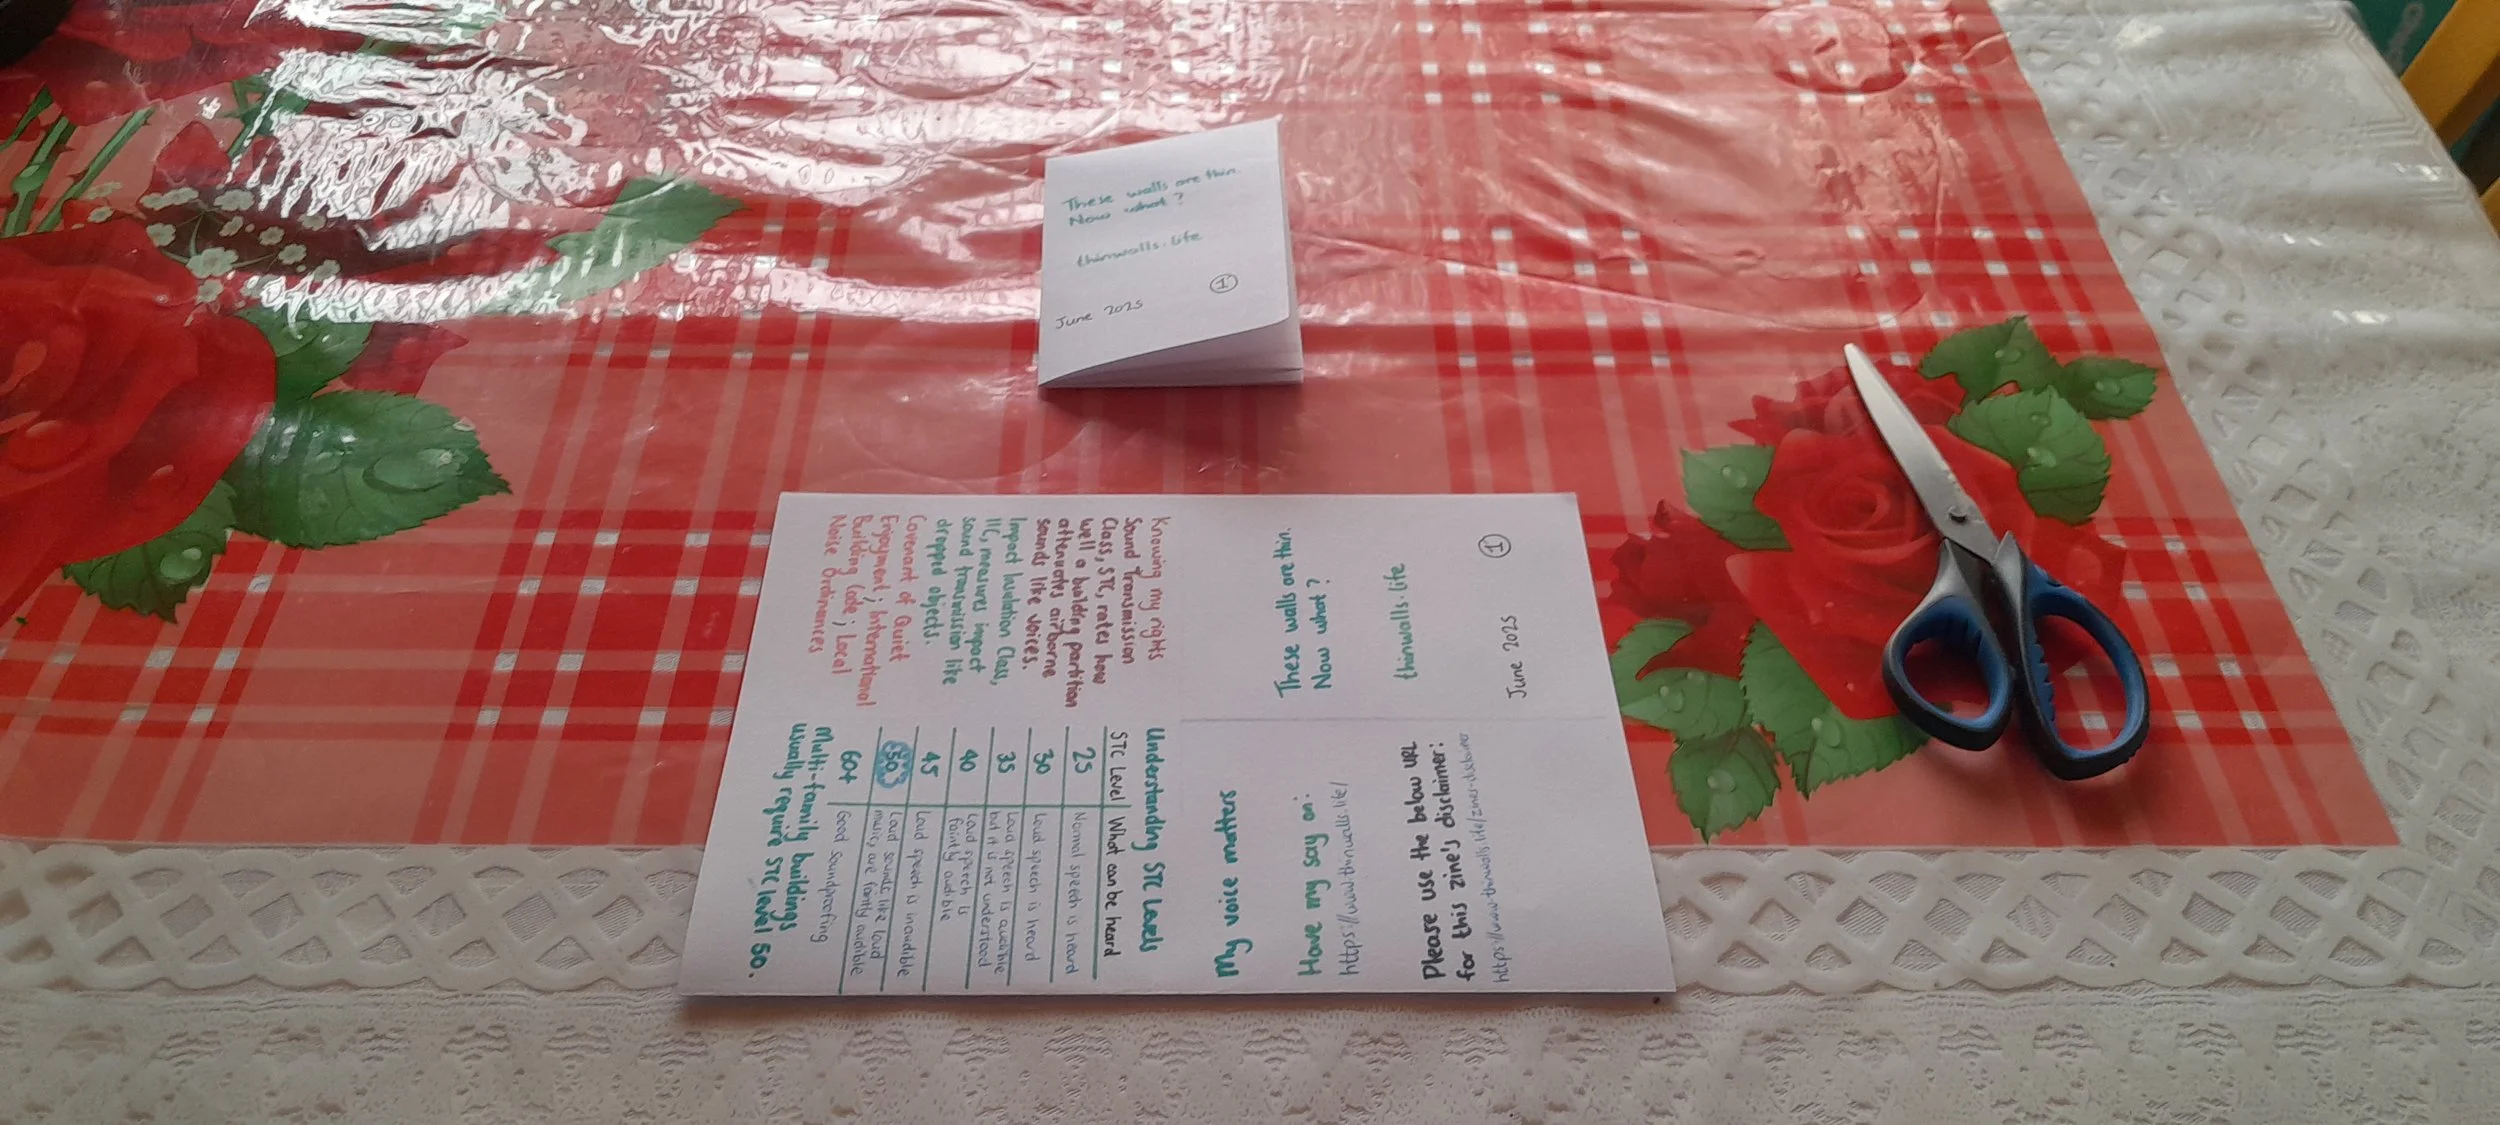
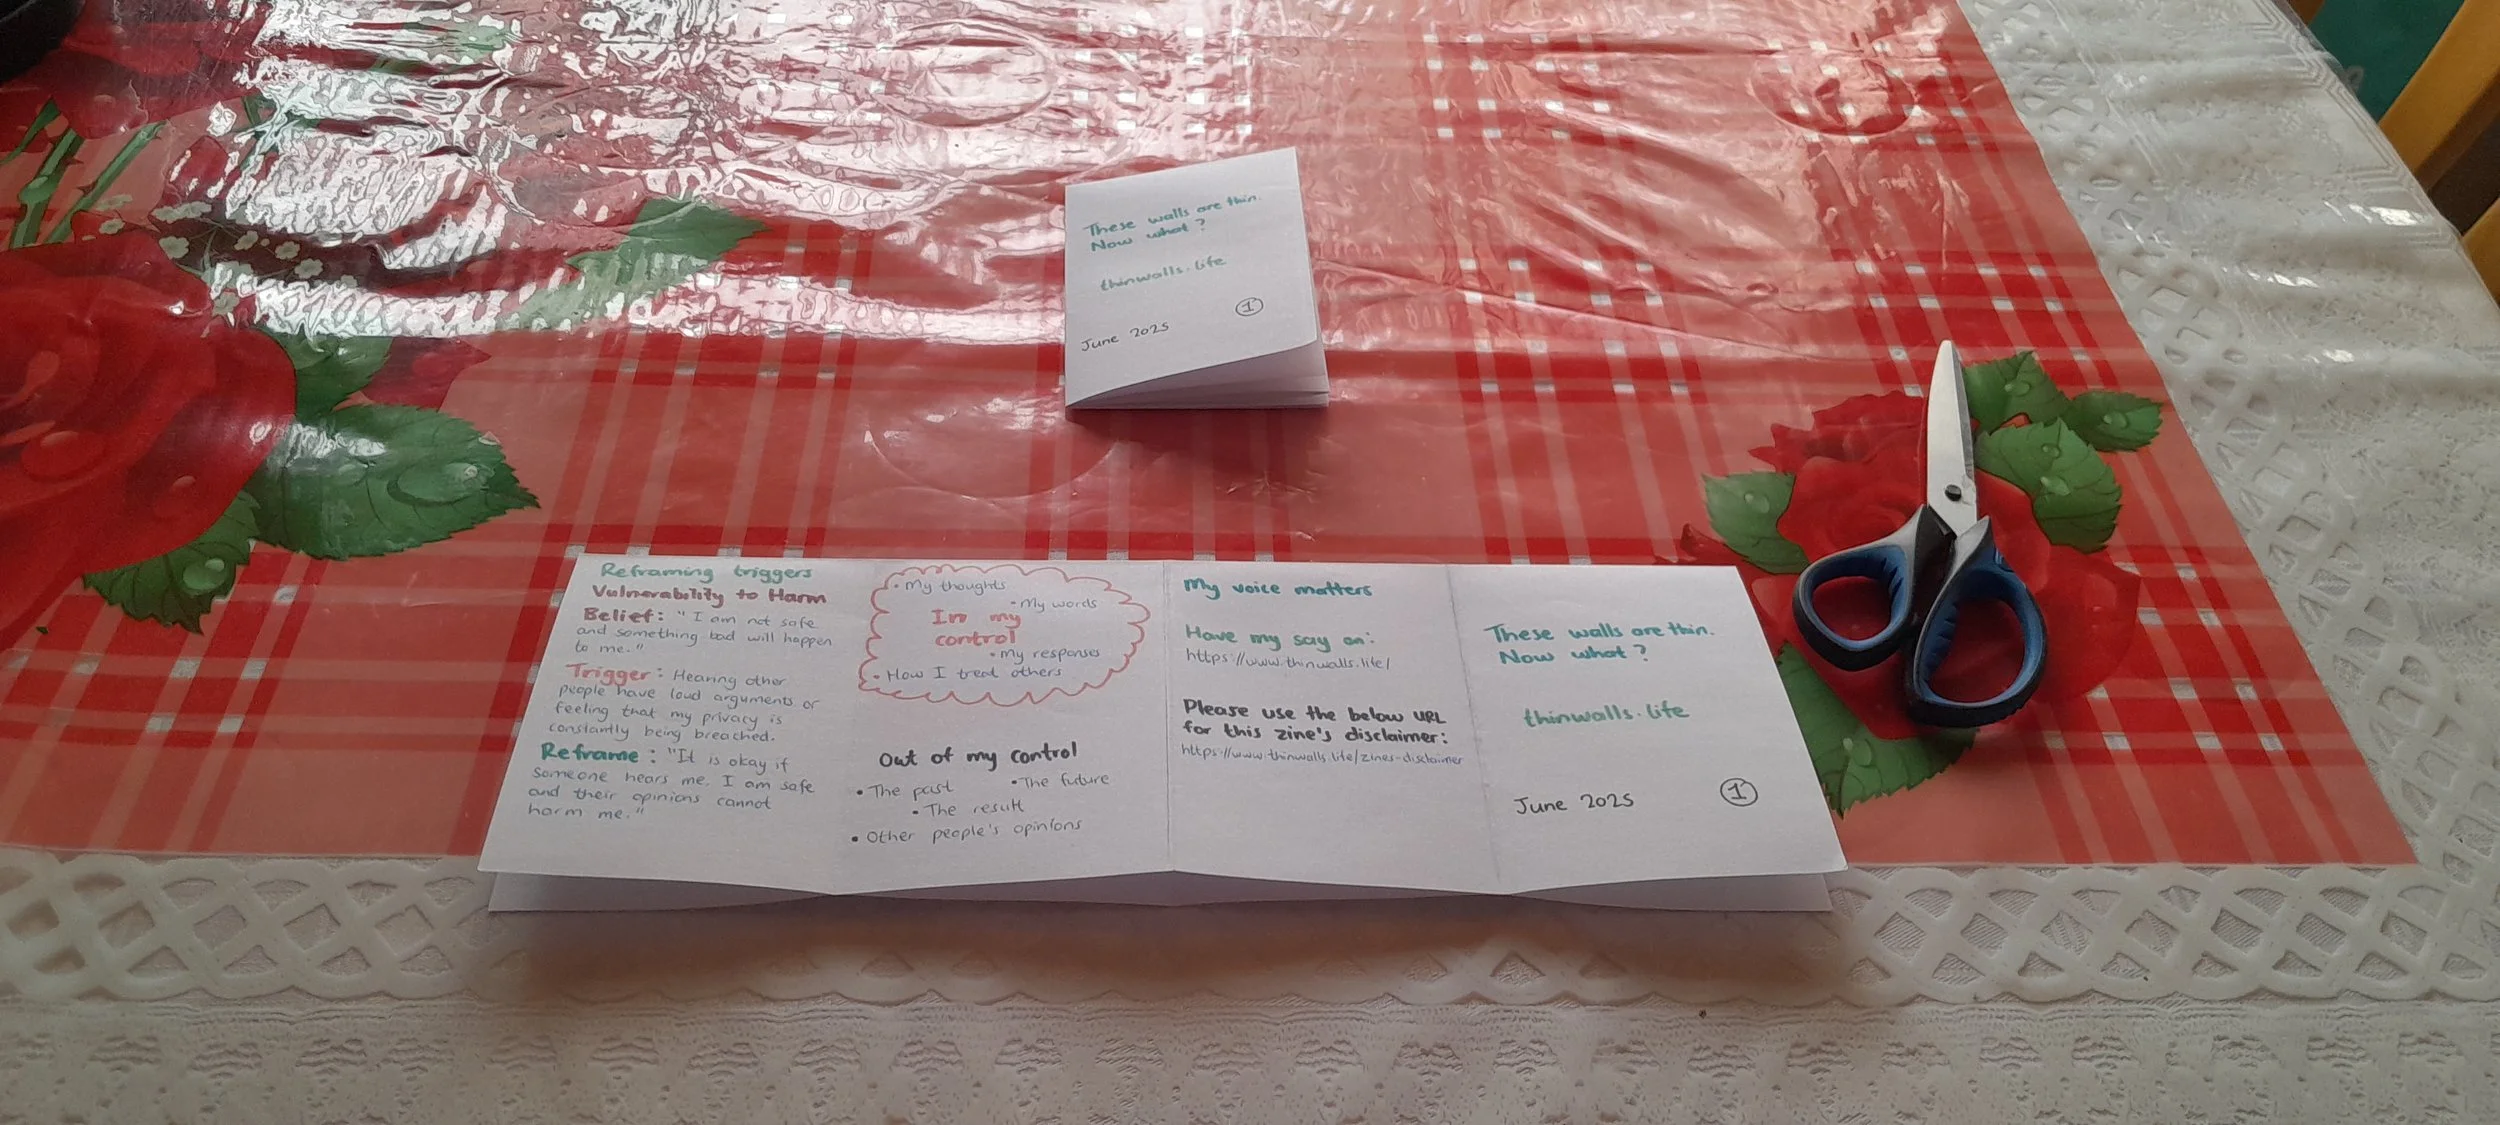
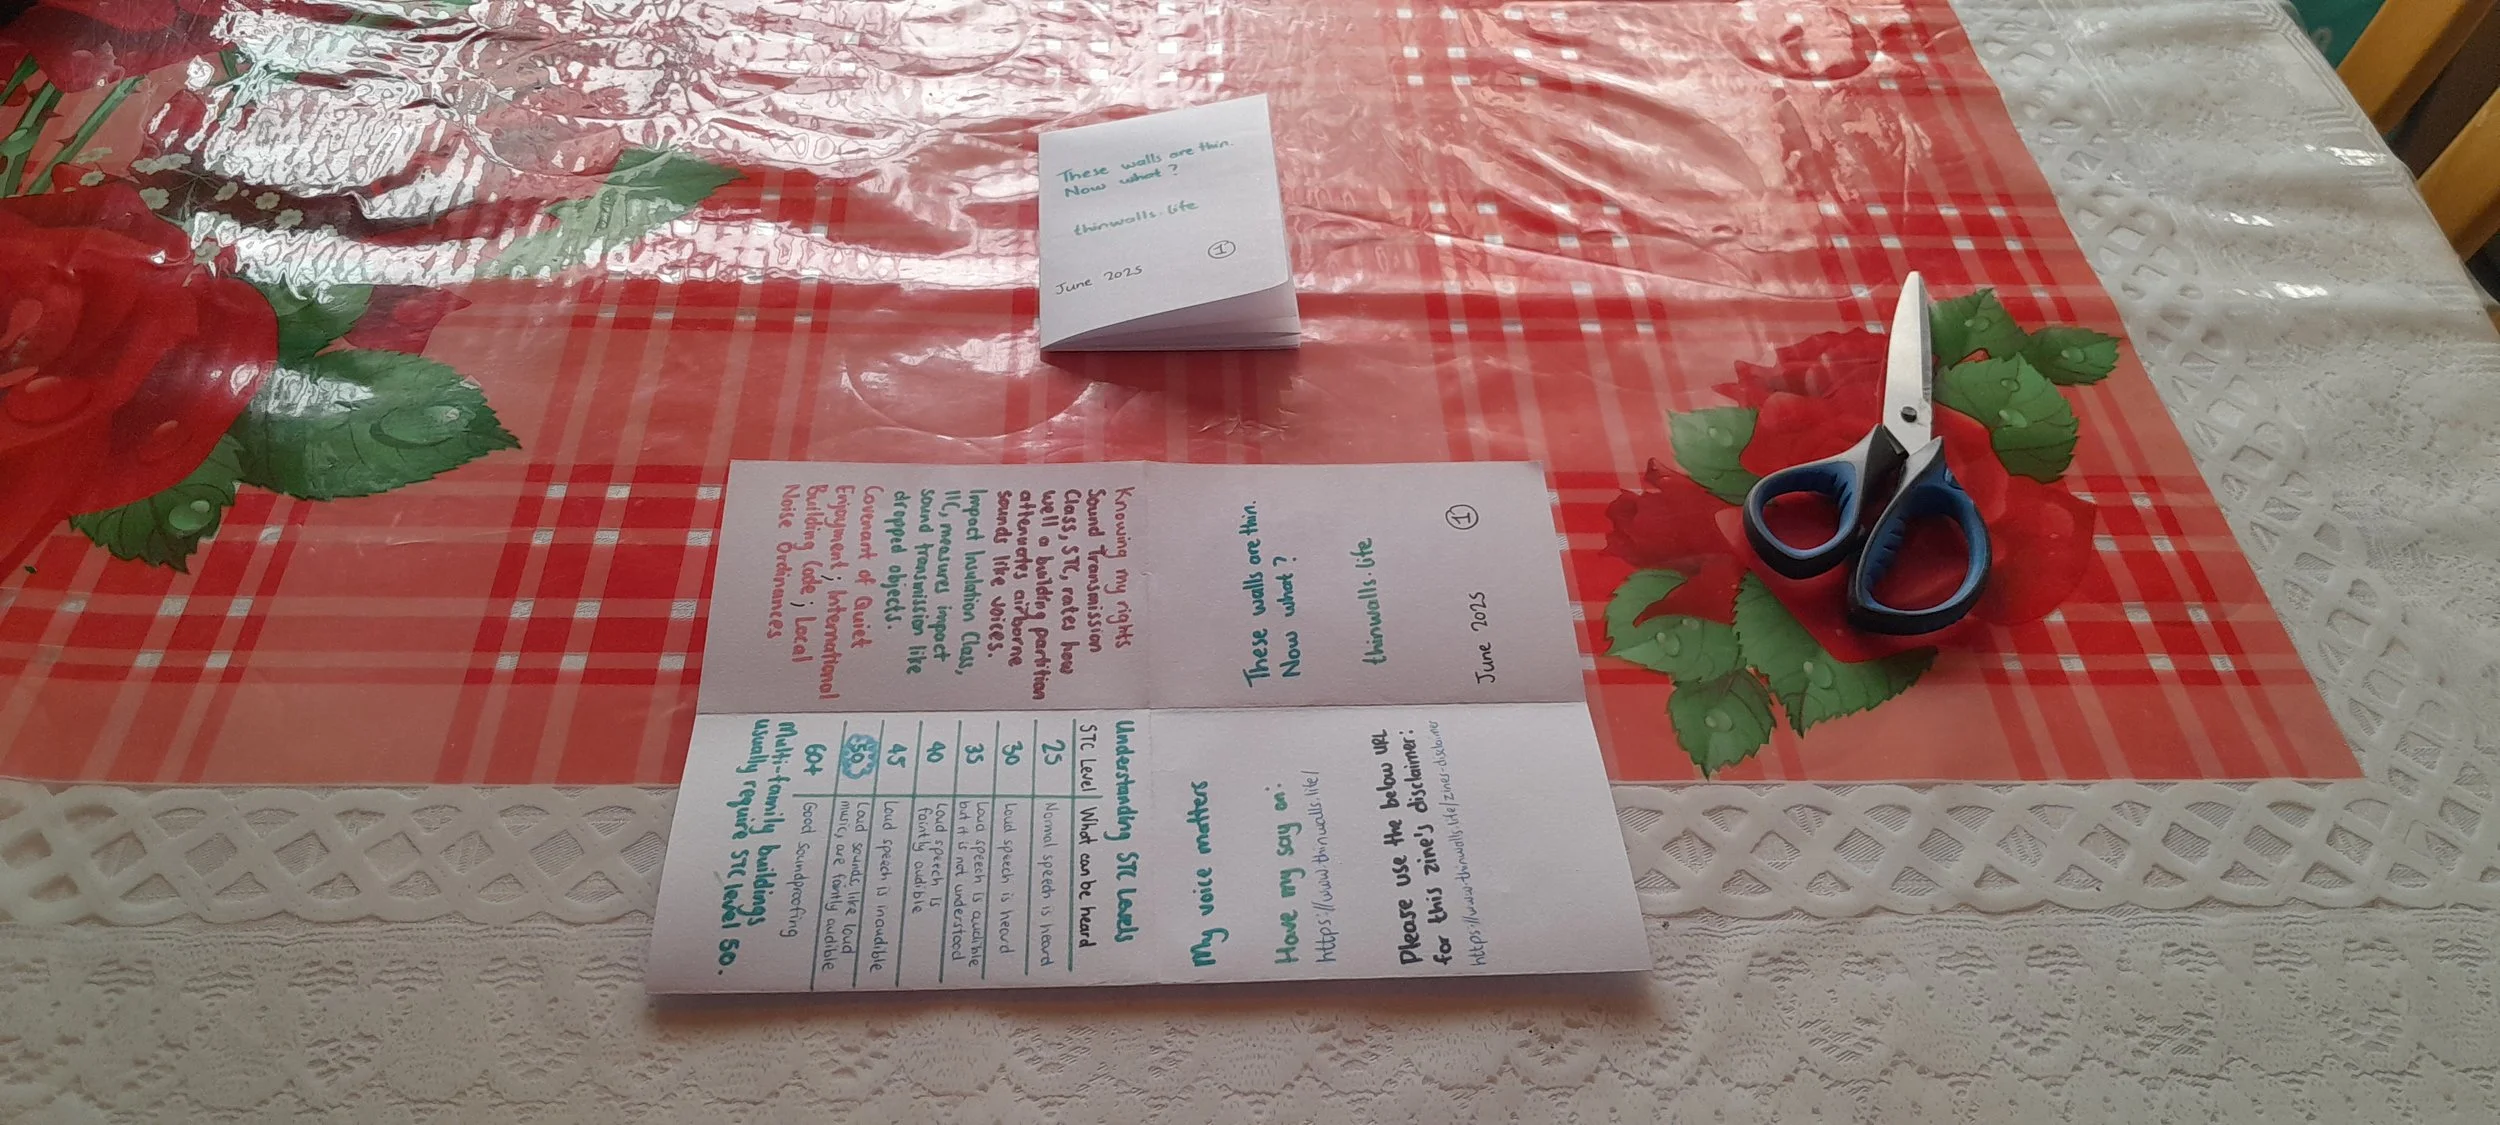
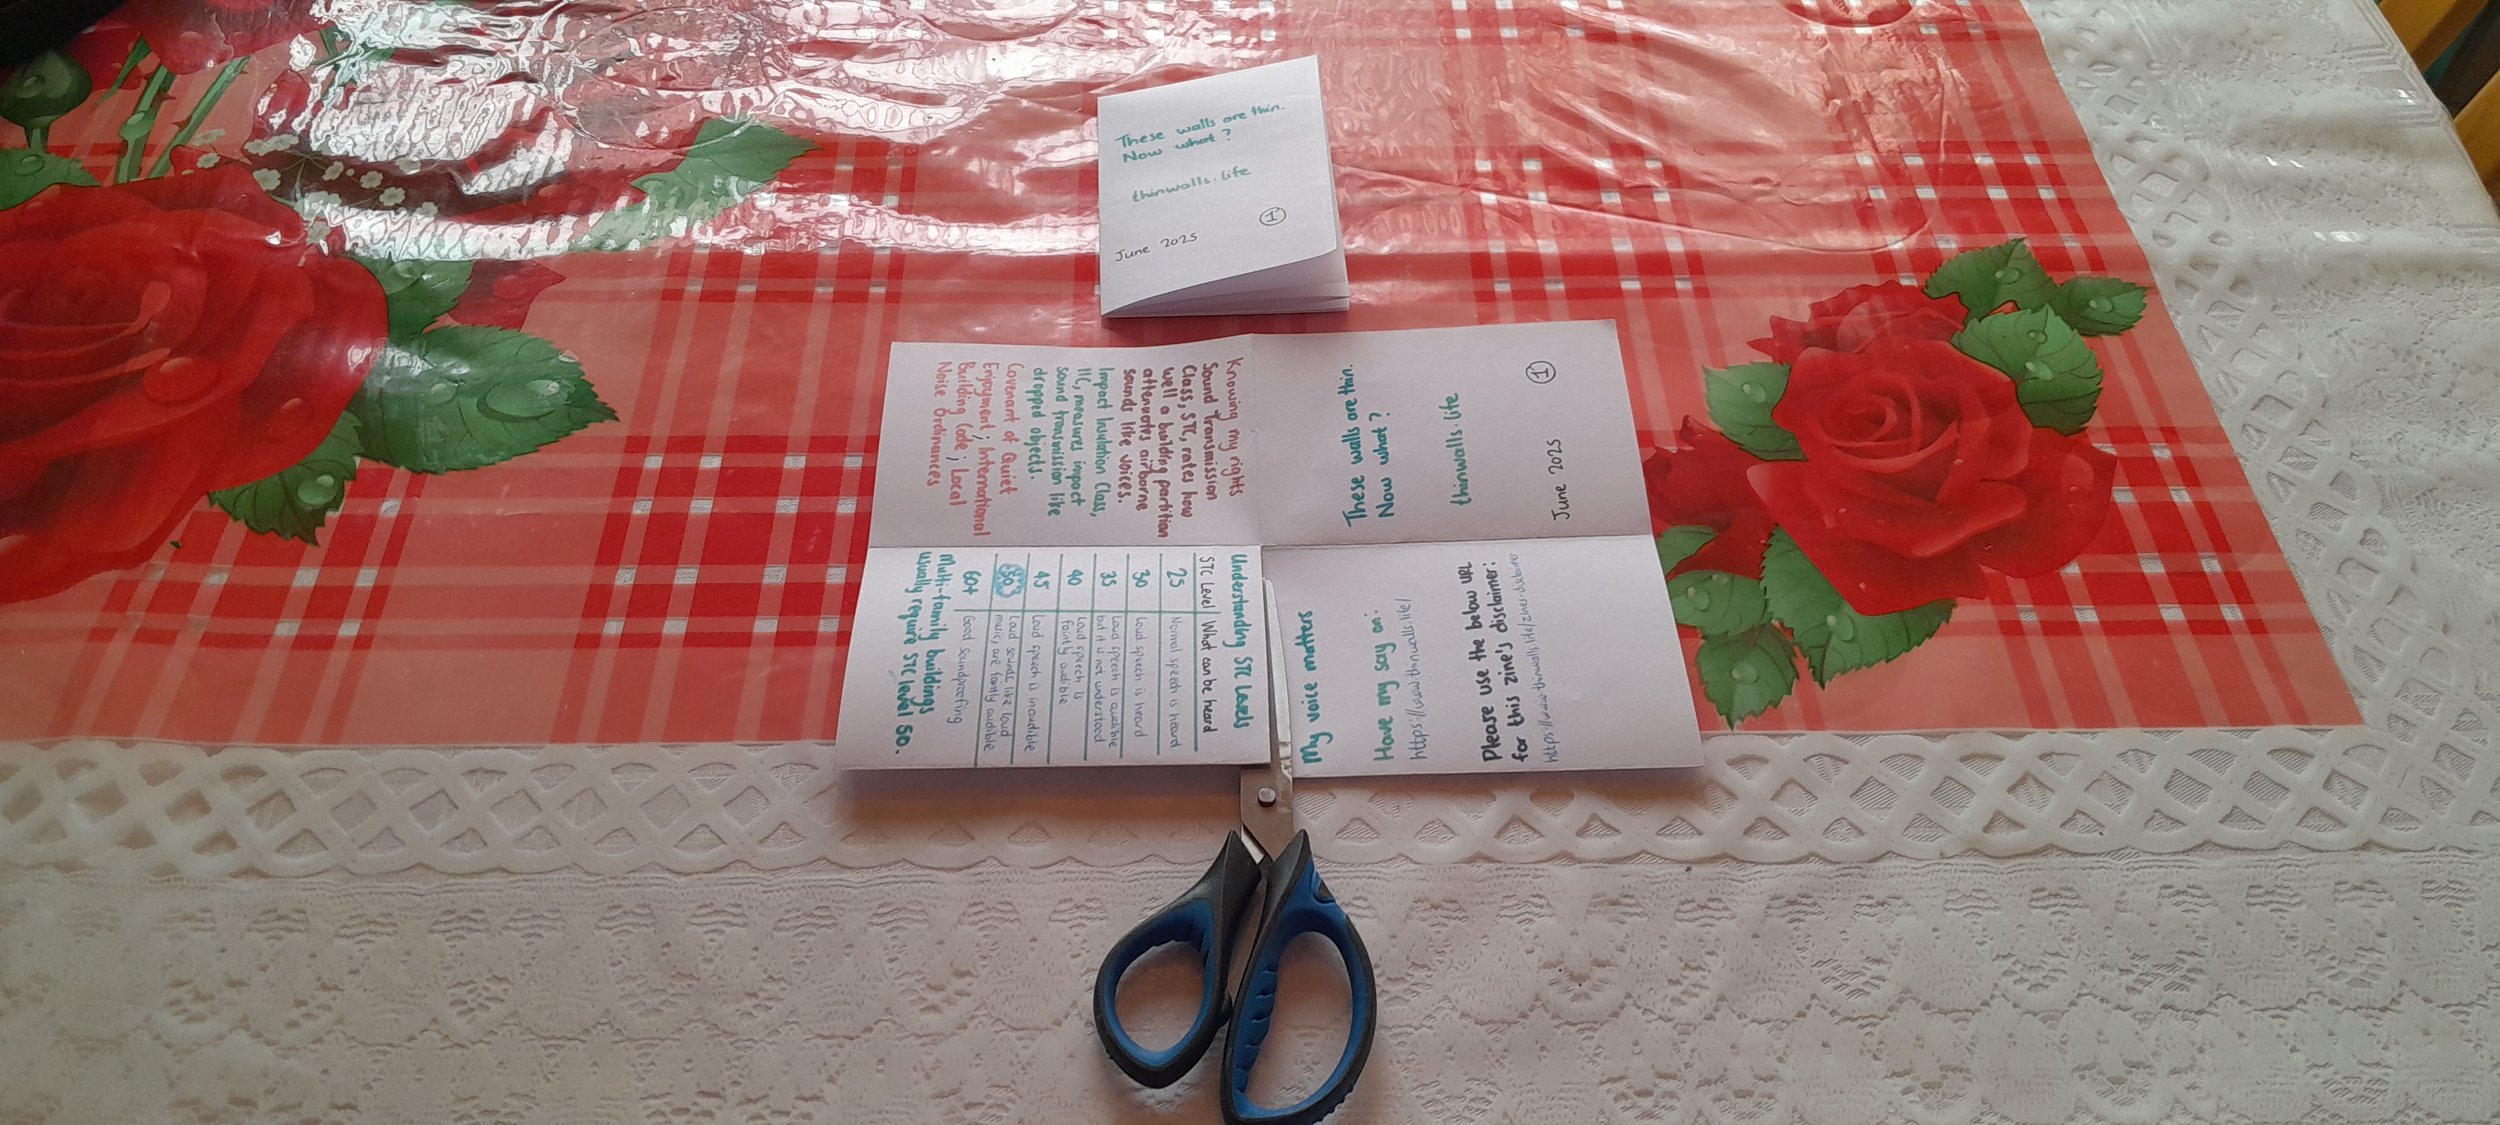
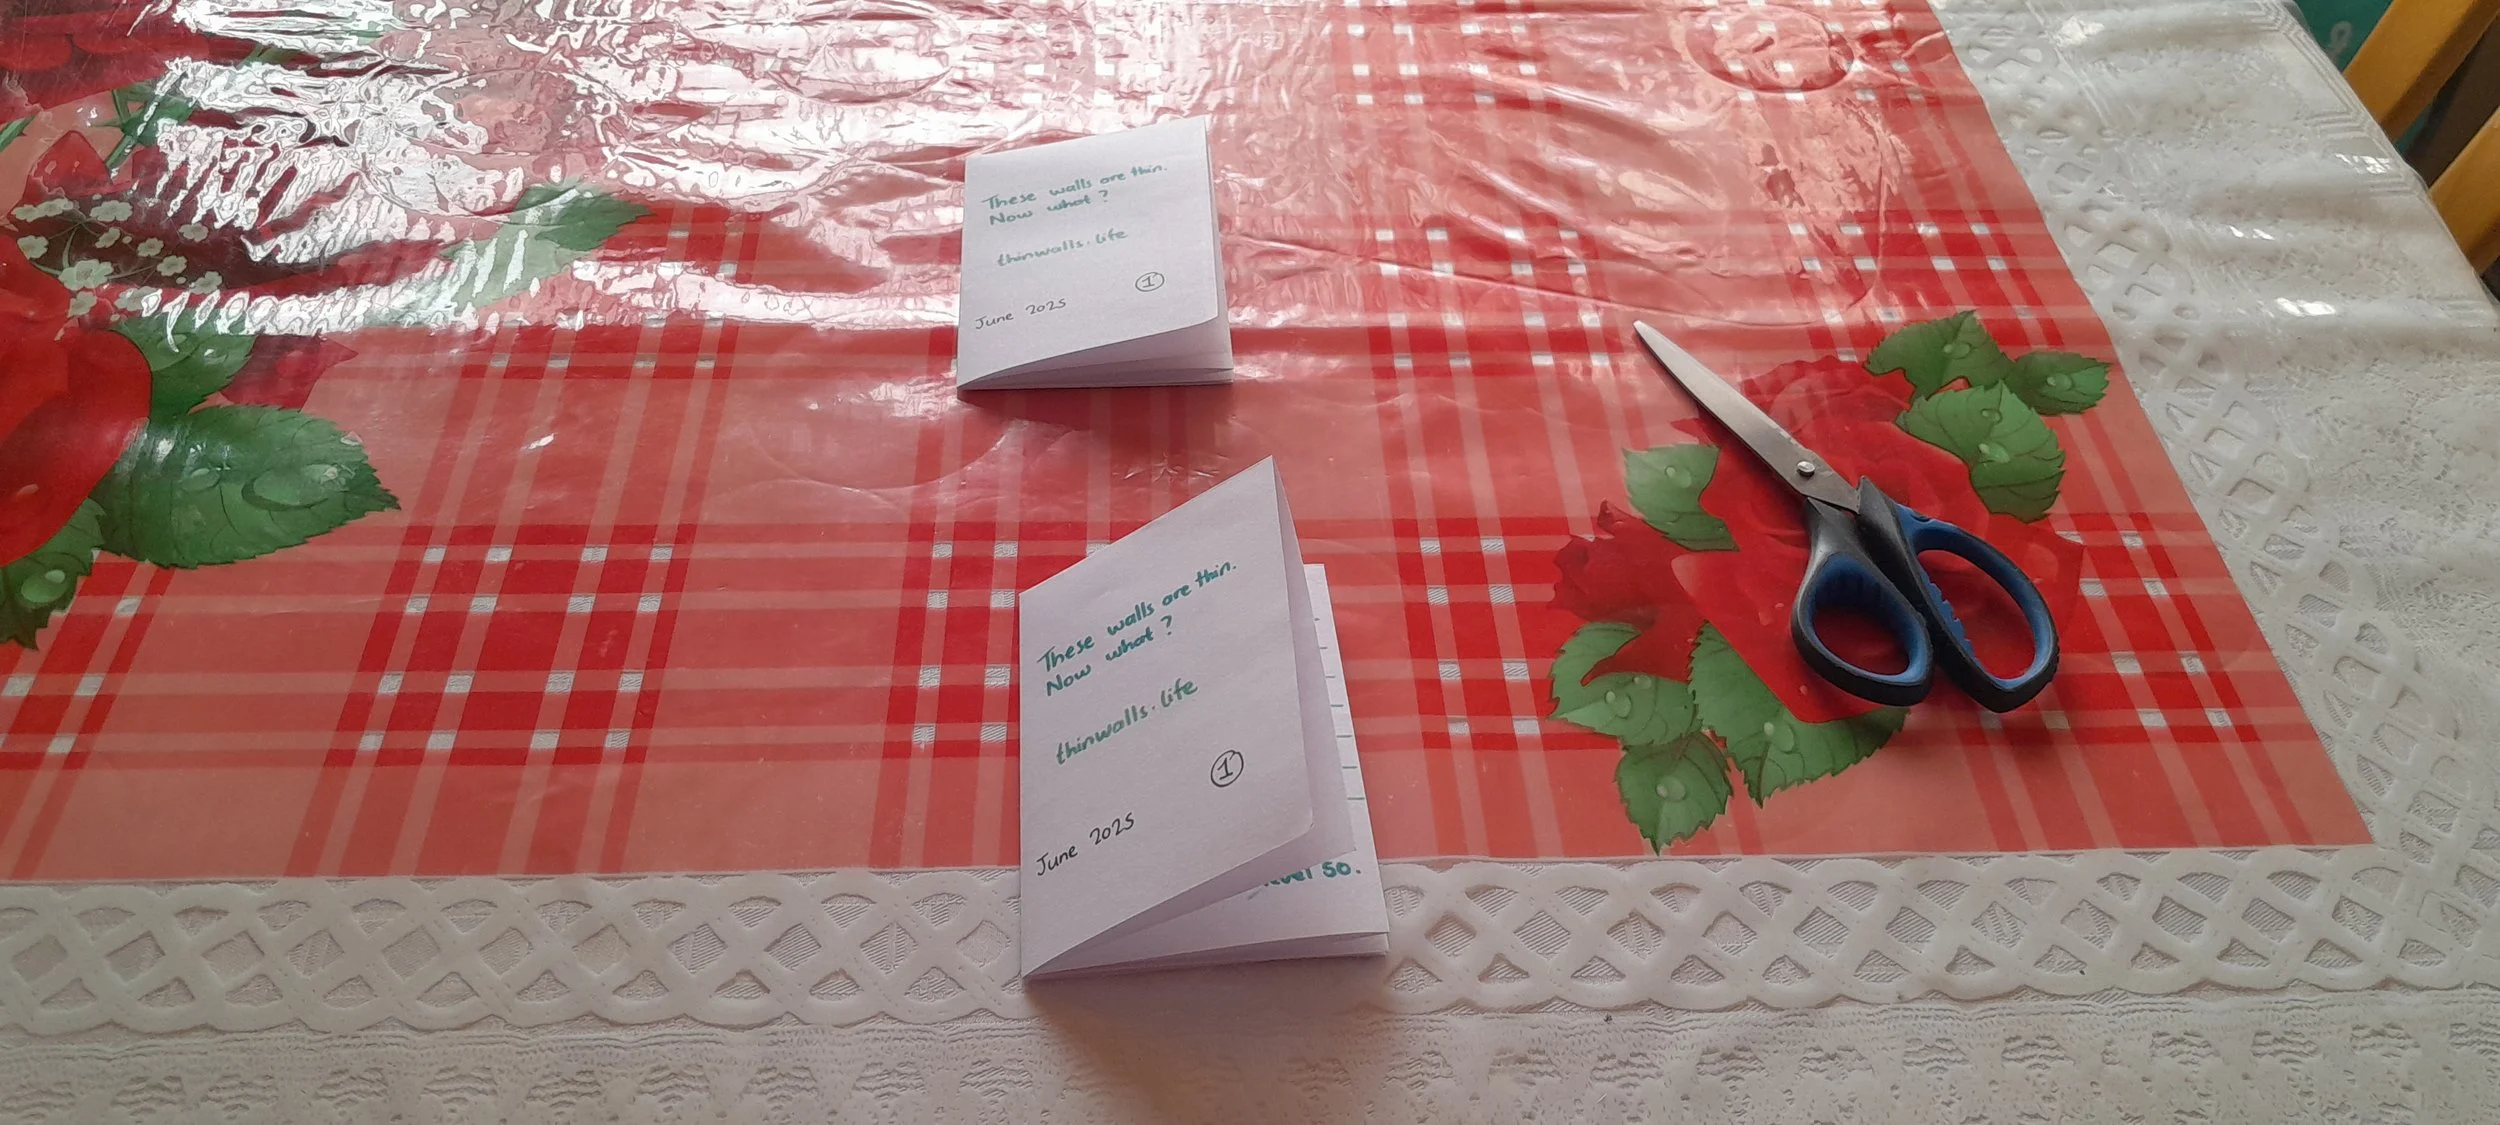
Step 10: Finished Zine
Close the pages.
You now have a finished mini zine:
“These walls are thin. Now what?”
Small. Portable. Ready to share.
Final Note
You’ve turned one sheet of paper into something that carries meaning.
Every folded copy helps the story travel.
Thank you for making one.